Putty Dental Impression Material
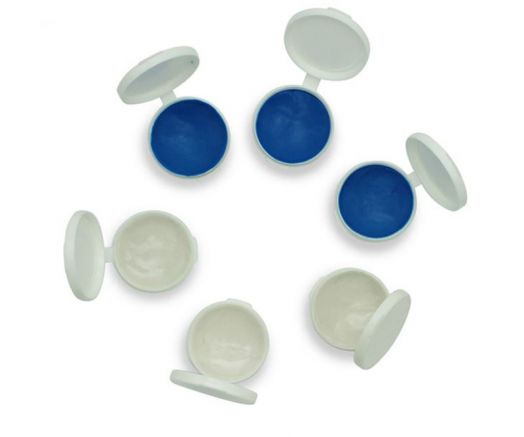
Putty Dental Impression Material is a polyvinyl silicone impression material with excellent wettability, tear strength and dimensional stability. It is suitable as a tray material in putty impression technology for the reproduction of teeth used for crowns, bridges, and partially and fully removable restorations.
Product Details
* Extremely smooth.
* Easy to take out and mix.
* Dimensional stability.
* Models can be poured up after impression taking.
* Excellent wettability.
* High Elasticity- tear resistant.
* High-precision detail showing the soft tissue of the gum line and the mouth.
Product Specification
Material | Silicone |
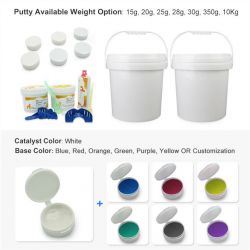
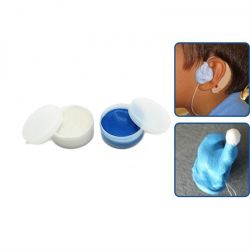
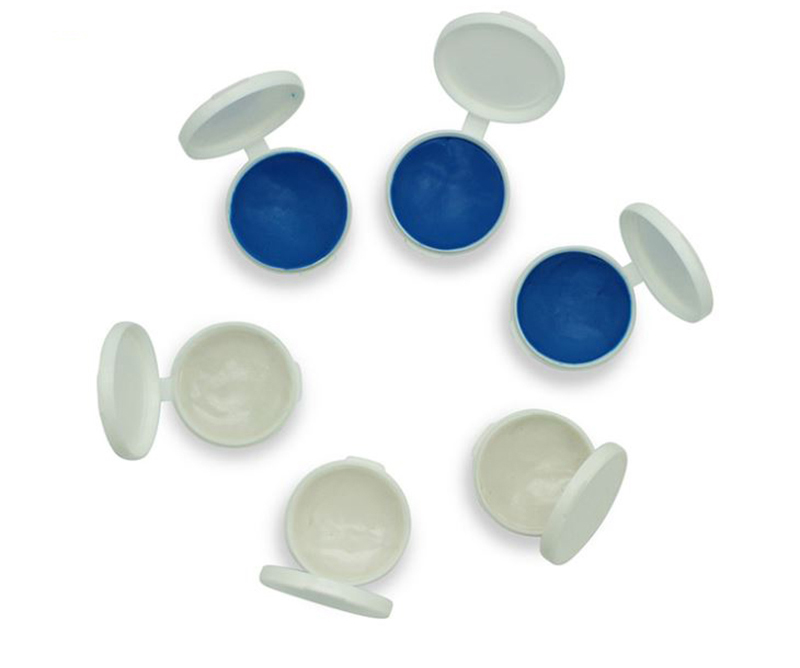
Color | White (Catalyst) and Blue(putty base) |
| Usage | Model Making |
Hand mixing time | 30s(23°C) |
| Hand working time | 90s(23°C) |
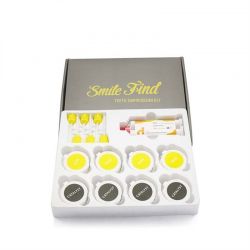
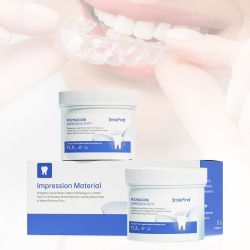
Volum | 20g*2 set (We also can supply 20g or 310ML impression dental material kit) |
Free Sample | Available for 1 set 20g dental impression materials |
Achieving an accurate, stable impression relies on careful evaluation of each patient, and the dental professionals can understand the characteristics of putty dental impression materials.
Simple operation, no complicated preparation, just to mix the putty and catalyst evenly, place it on the tooth tray, open the mouth, put it in, bite it, and then take it out. There is no powder everywhere and there is no slag in the mouth to make the user uncomfortable.
How to make a good impression
We recommend that you must submit a timer so that you can plan the stage to be explained later. In the mirror, you can see that you have placed the impression tray according to the instructions.
Before starting the impression process, remove any dentures, plates or holders
Step 1:
Put on the gloves and take a white putty ball from its pot and a coloured putty ball. Mix them together in your hands until you have an even coloured putty. You do need to be quick doing this as once the two putties are mixed they start to set.
Step 2:
Make a sausage shape about half an inch wide. Place into the impression tray as shown in the picture, ensuring the putty goes above the rim of the blue tray. This is to ensure all the teeth and gum line are taken in the impression.
Step 3:
Carefully place the filled tray into your mouth over your teeth and push up (upper impression) or push down (lower impression) firmly once at the front. Then push up (upper impression)/down (lower impression) firmly each side at the back once. Make sure your lip is over the putty and impression tray. Do not talk and stay still while the impression putty is setting. Keep a slight pressure on both sides of the tray as shown in the photo in step 2.
Step 4:
The putty should be set and ready to remove after 3 minutes. Carefully and slowly move the handle on the tray up and down a few times. If it feels stuck don't worry it will release just try a few more times.
DO NOT REMOVE THE IMPRESSION FROM THE BLUE TRAY PLEASE NOTE:
During hot summer months please store your putty dental impression material in the refrigerator before use.
The putty dental impression material should be allowed to warm up to room temperature before use.
The putty dental impression material is a commonly used high grade dental impression material. Material safety data information available on request.
GOOD IMPRESSION
You can see all of your teeth clearly in the impression tray.
You can see a deep outline of your gum above your teeth.
Related Products
Certification
Inquire Us Now


