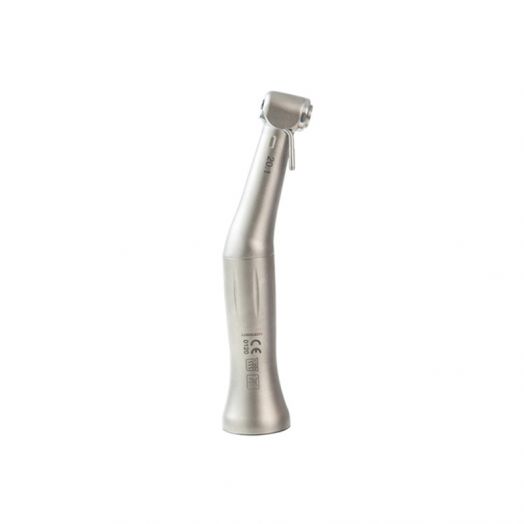
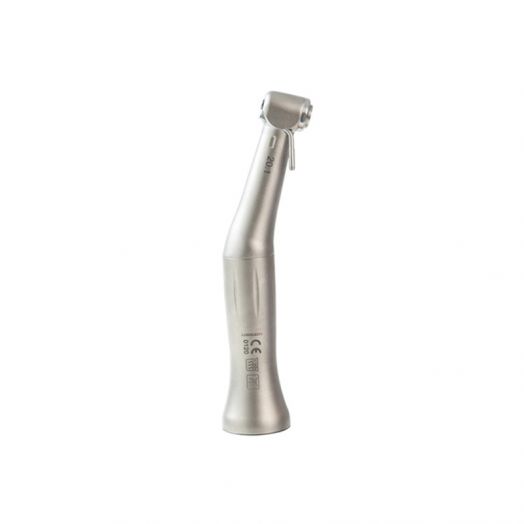
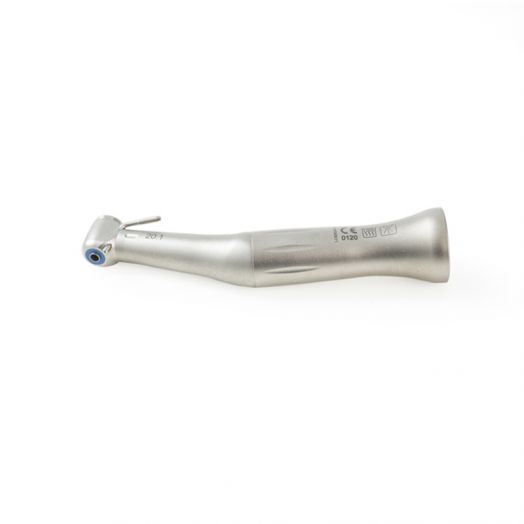
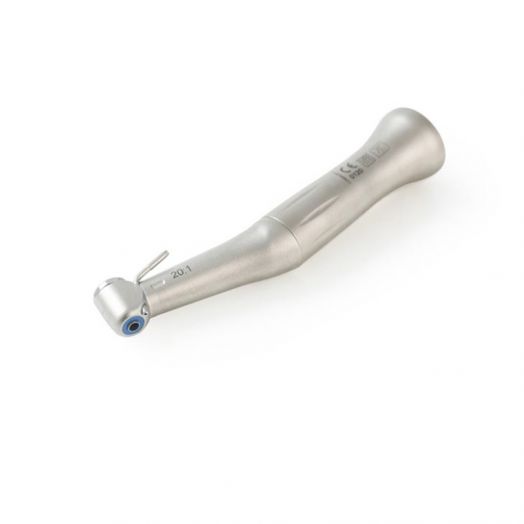
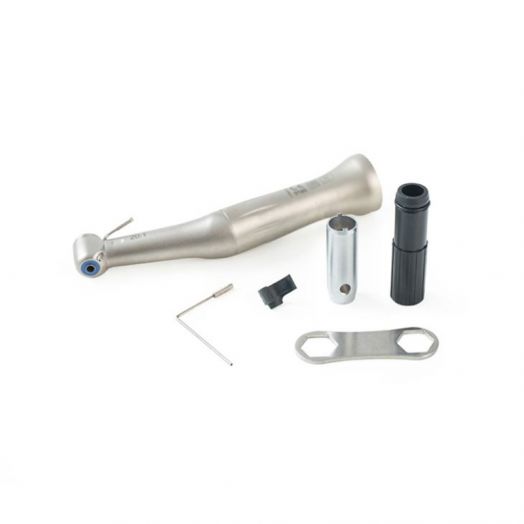
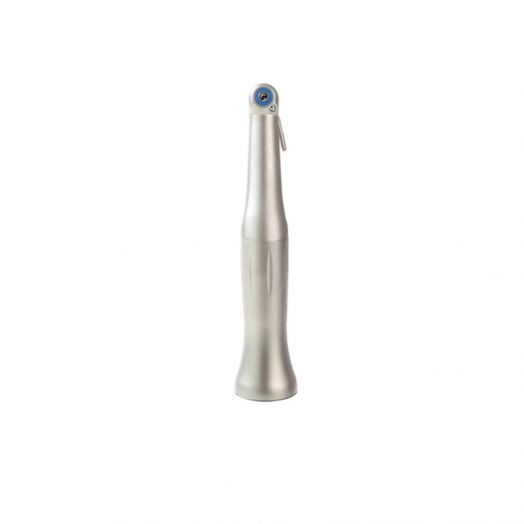
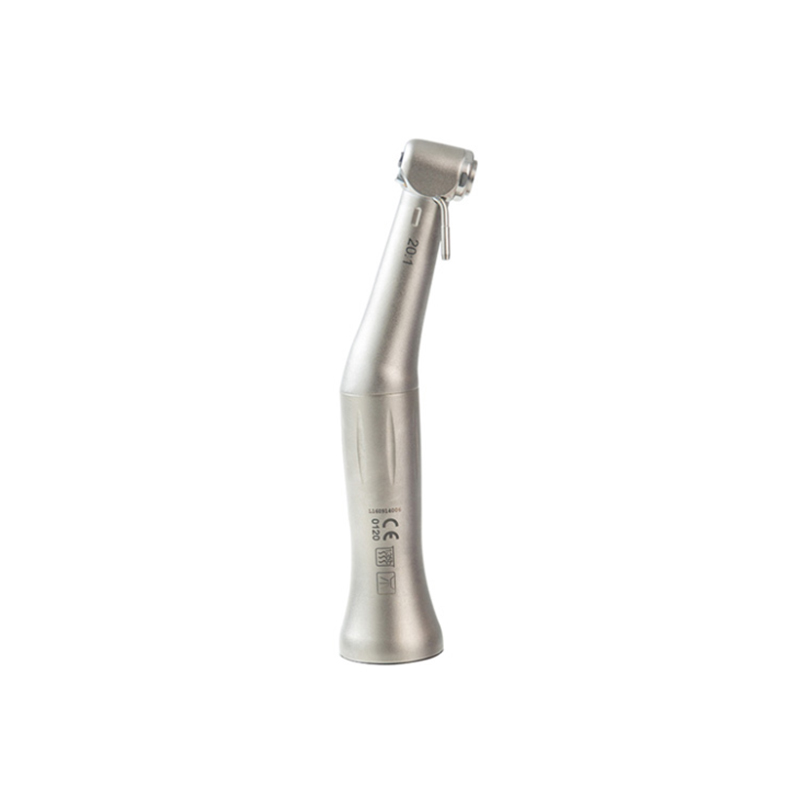
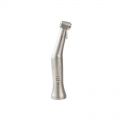
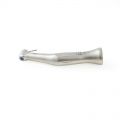
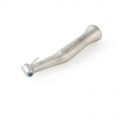
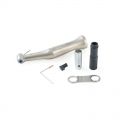
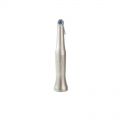
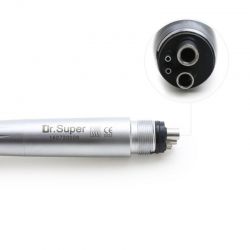
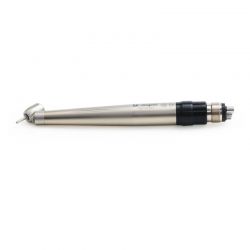
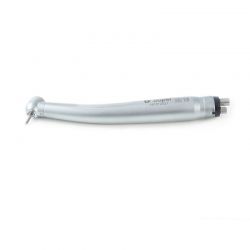
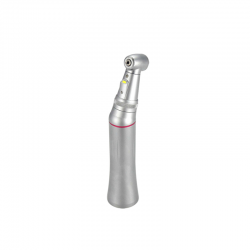
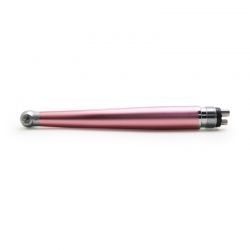
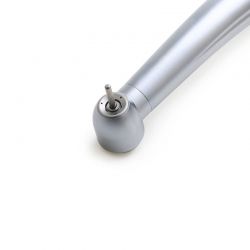
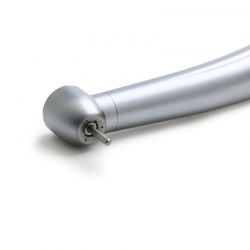
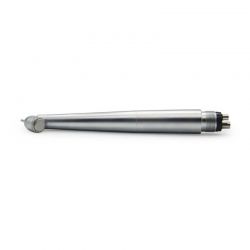
20:1 Contra Angle Implant Handpiece
20:1 Dedicated professional contra angle implant dental handpiece with stable quality and matched with the motor that meets ISO standards, providing convenience for doctors' treatment.
Product Details
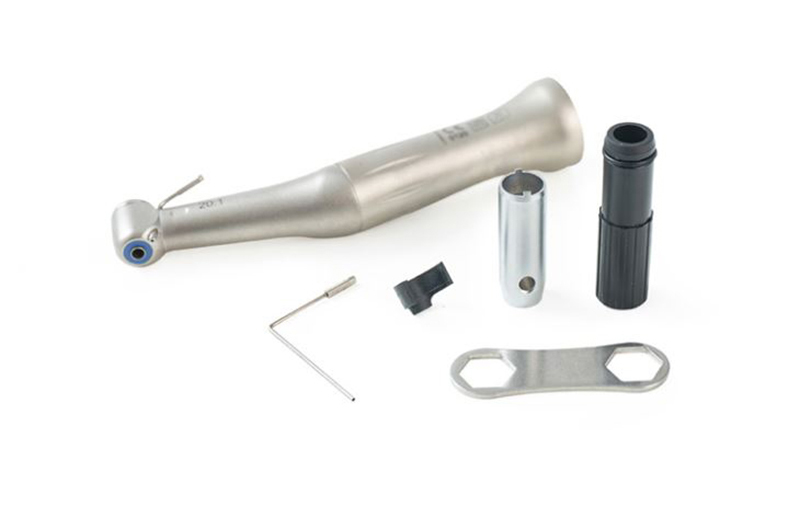
Dr.Super Low-speed dental implant contra angle handpieces, mainly for dental grinding, model grinding and treatment.
20:1 Reduction Ratio
External Irrigation System
Detachable Contra Head
Push Button To Exchange Burs
No-slip, Highly Durable
For Implant Purpose
Ergonomic Comfort Grip
Long Life-Span
Provides Sufficient Force at Low Speed
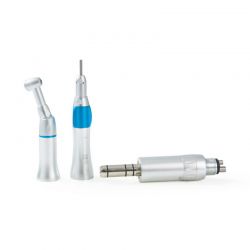
Available for Various E-type Motors in Accordance with ISO Standard
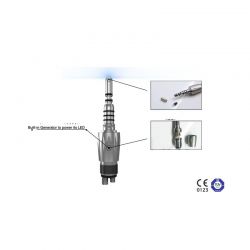
Compatible with All E-type Motors. (NSK, Aseptico. W&H, Nouvag Acteon )
Technical Data
Implant contra angle
| Bur applicable | φ2.345-2.355mm |
| Max torque | 55N·cm |
| Spray | external irrigation system |
| Noise | ≤70dB |
Instructions
First, use a dental handpiece
1. Need to use a clean, dry, oil-free medical air compressor.
2. The air pressure is between 2.3-2.8kgf / cm2;
3. Combine the quick connector with the adapter on the bottom of the handpiece and confirm that it is locked;
4. Depress the pedal to see if the dental handpiece is operating and the nasal spray is operating normally. If everything works, you can start using your dental handpiece.
Maintenance
Autoclave the handpiece following the manufacturer's guidelines. Be sure to place the bag paper side up in the autoclave. Allow the sterilizer to completely process through the dry cycle. This step is CRITICAL. If still damp after completion of the full sterilization cycle, leave the bagged instruments in the autoclave until the packaging is dry.
Something You Need to Know
External cleaning
(1) Remove the bur from the dental handpiece.
(2) Clean the debris around the outlet with clean water and a brush.
(3) Use a half cup of clean water to soak at 20mm of the head and spin for 15 seconds to remove dirt accumulated inside and outside the head.
Clean water spray
(1) Use through-hole needles to clean spray、inner and outer nozzles to remove dirt and deposits.
(2)Clean the flush pipe inserted in each nozzle with clean water.
Related Products
Certification
Inquire Us Now

